The Special Services At Home (SSAH) Ministry has changed the SSAH program’s guidelines to provide families with more choices in how they can use their funding, starting April 1st, 2024.
On MyDirectPlan, creating your expenses is the first step in the road to reimbursement. Here is a quick guide for users who may want to submit their Expenses manually by selecting the new Eligible Expense Categories via the MyDirectPlan web application.
To do so, follow the steps below:- Open your preferred web browser and navigate to MyDirectPlan https://mydirectplan.com/
- On the MyDirectPlan homepage, click on the "Sign In" button located in the header.
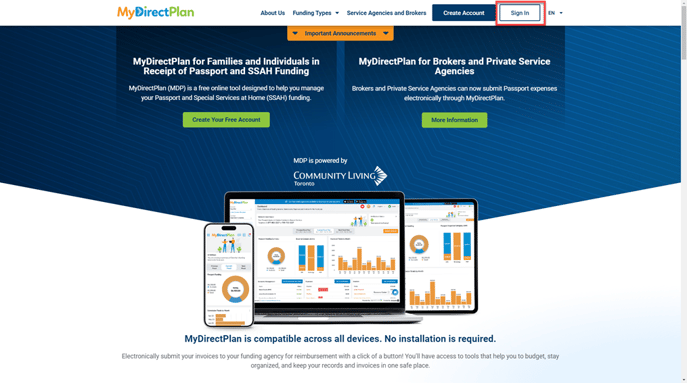
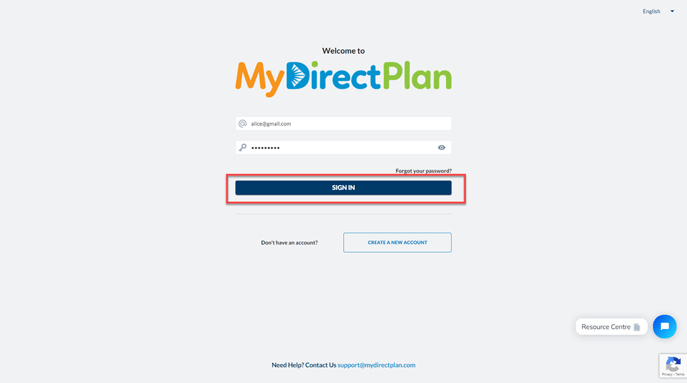
- On clicking, you will be taken to the Sign In page of the MyDirectPlan application.
- Sign in to your MyDirectPlan account.
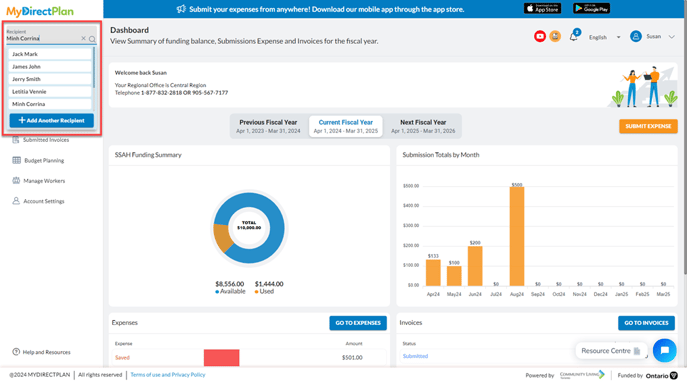
- Select the recipient from the left-side menu for which you want to add the expenses.
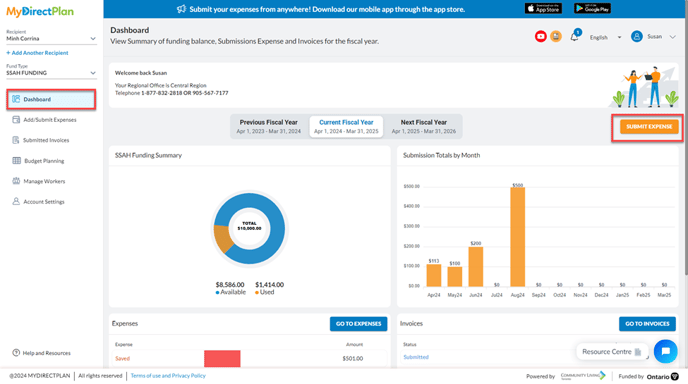
- Navigate to your “Dashboard” or “Add/Submit Expenses” section from the left-hand menu. If you are on the “Dashboard”, click the "Submit Expense" button.
- This will open an "Add Expenses" wizard, allowing you to add your expenses via AI by attaching the receipt or manually entering by selecting your expense category from the list of new Eligible Expense Categories.
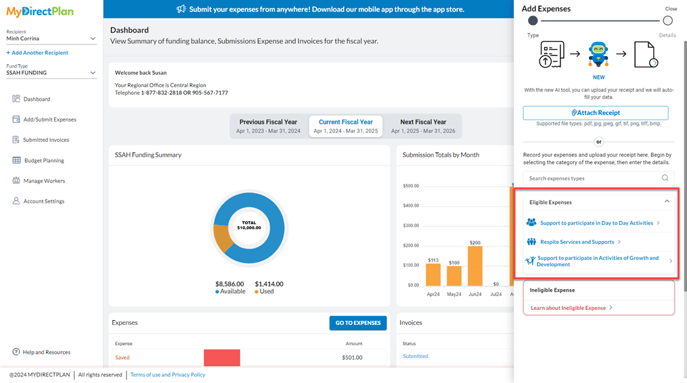
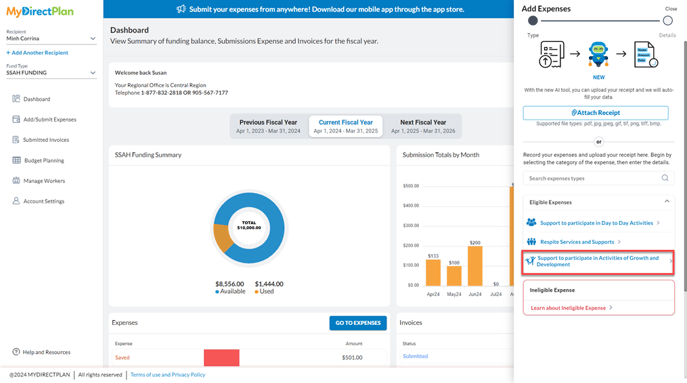
- For manual expense entry, select the category that your expense falls under.
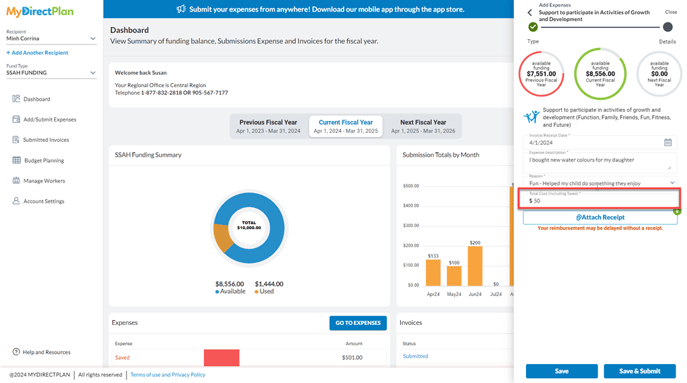
- The next step will open the New Expense Form for the selected expense category. Please note all fields are mandatory except for the Attachments.

- At the top, you can view your Available Fiscal Budget for the current fiscal year, previous fiscal year, and next fiscal year to show you how much funds are available in your balance.
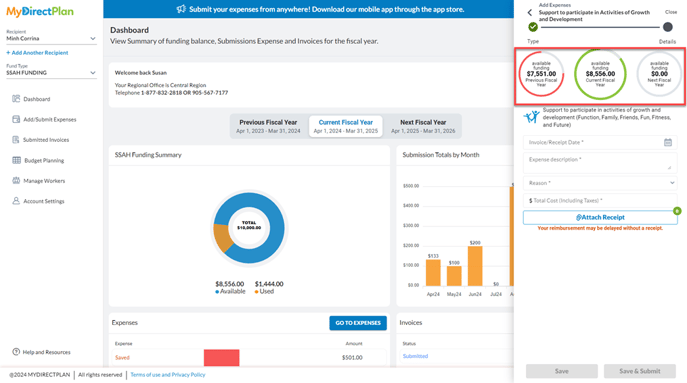
- Enter the Invoice/Receipt Date.
Please note: users can now submit future-dated expenses.
- Type a brief Expense Description for the type of item/services/supports which you have purchased.

- Select the Reason from the dropdown, that explains how the purchased item/support/service meets the needs of the child and/or family.
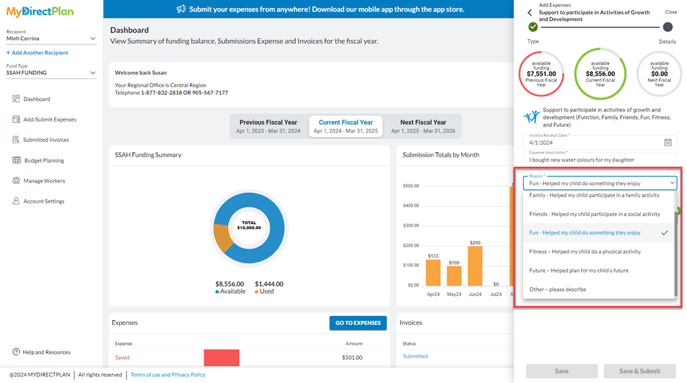
- The application also allows you to enter your custom reason, by selecting the “Other - please describe” option from the dropdown. The “Other - please describe” option will display a free text field for you to add a custom reason.

- Enter the Total Cost (Including Taxes).
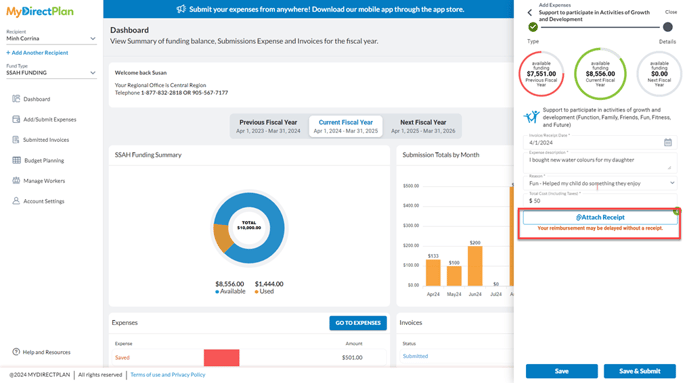
- With the help of the “Attach Receipt” button upload copies of your receipts/invoices as proof of payment for your expenses. This is important as you will not be able to submit your expense without a receipt.
- Click on the “Save” button if you want to submit your Expense later. By clicking on the “Save” button, the application will save your expenses in your “Add/Submit Expenses” section.
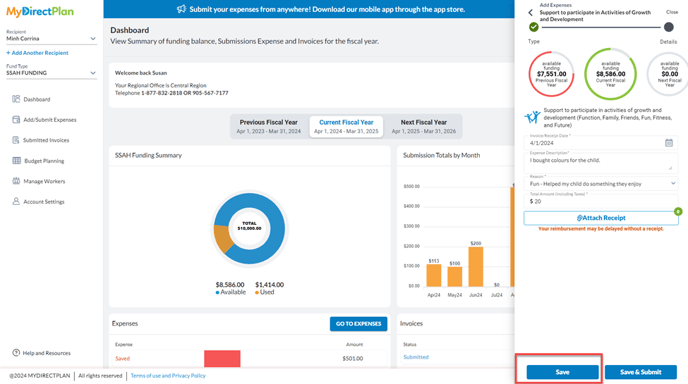
- If you want to submit your expense right away, click on the “Save and Submit” button.

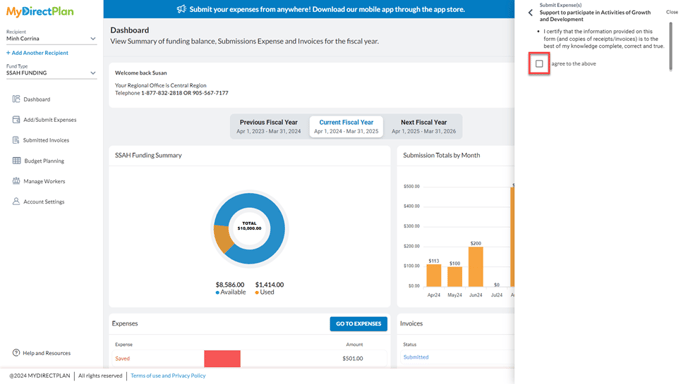
- Clicking on the “Save and Submit” button, the application will display a disclaimer to you, confirming your action.
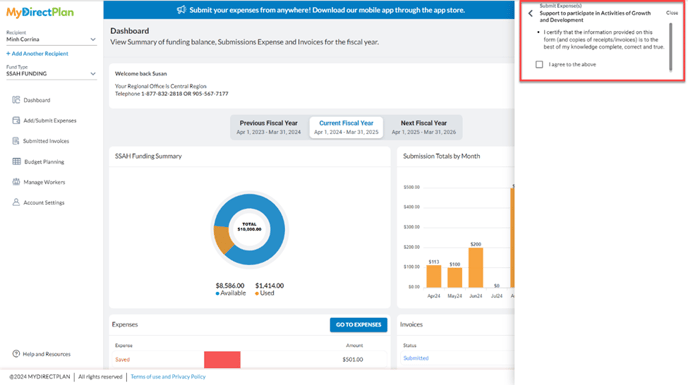
- Check the checkbox to agree to the disclaimer.
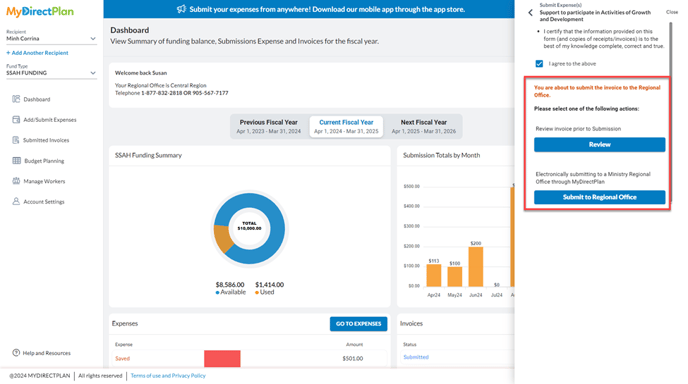
- Once agreed to the disclaimer, you will have the option to “Review” your invoice and/or “Submit to Regional Office”.
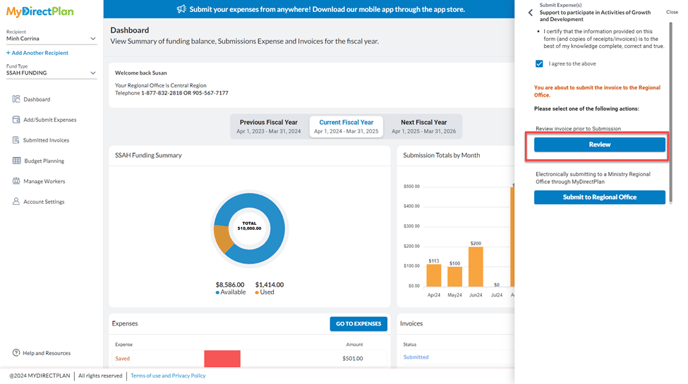
- Click Review to see a preview of the invoice that will be submitted.
- Click the "Submit to Regional Office" button, your expenses will be submitted electronically via MyDirectPlan to the Ministry Regional Office you selected in Fund Settings. A copy of your SSAH invoice will be sent to your Regional Office with all attached receipts and supporting documents and an electronic signature will be placed on the invoice.
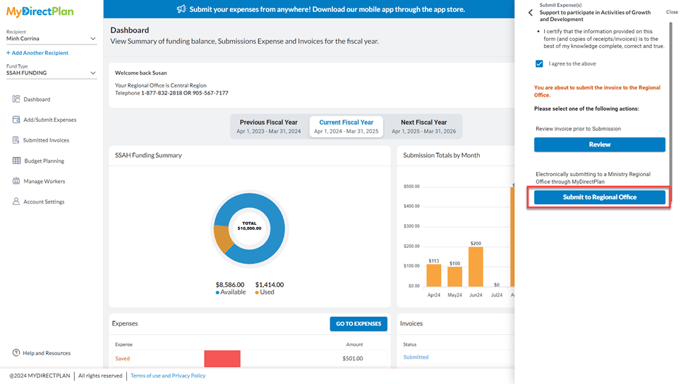
- When this action is complete, a copy of your submission will be stored in the Submitted Invoices section of your account.
Congratulations! You have officially submitted an invoice using the new Eligible Expense Category.
Still need help?
Thank you for using MyDirectPlan. If you still have questions, you can contact our support team by emailing us at support@mydirectplan.com or scheduling a call. Our team is available on weekdays from 10-6 EST.