This article is for:
- Passport Agency Staff Users
In this article:
Step 1: Adding a New Expense
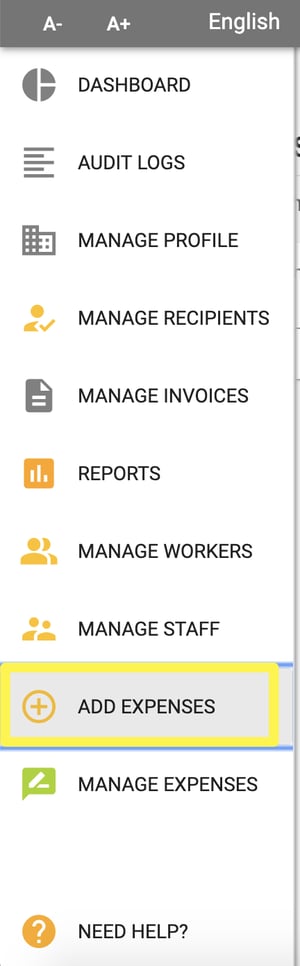
Navigate to the “Add Expenses” menu option.
This feature can be used to add any additional expenses that you would like to submit on behalf of your Agency’s Recipients.
For Passport-related expenses, all Expense and Invoice Submissions will be sent electronically and directly to PassportONE for processing.
Follow these steps to add a new expense:
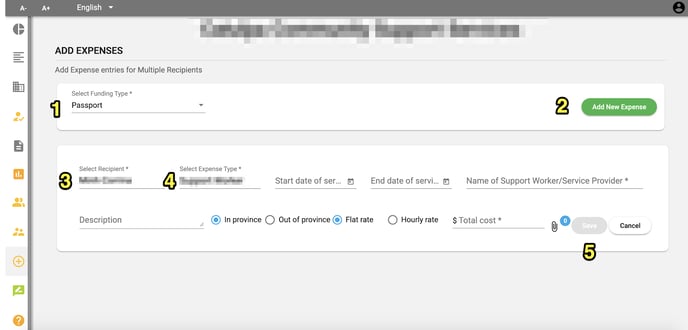
- Select the Funding Program Type (options will depend on the Funding offered by your Agency).
- Click the “Add New Expense” button.
- Search and select the Recipient.
- Select the Expense Category Type (Dropdown Menu).
- Complete the other data fields (e.g. dates, rates, descriptions, costs). Attaching a document is optional. Click “Save” when finished.
Step 2: Reviewing and Submitting Expenses
Once expenses have been added, you will be able to view and review Expenses that have been added through the “Add Expenses”.
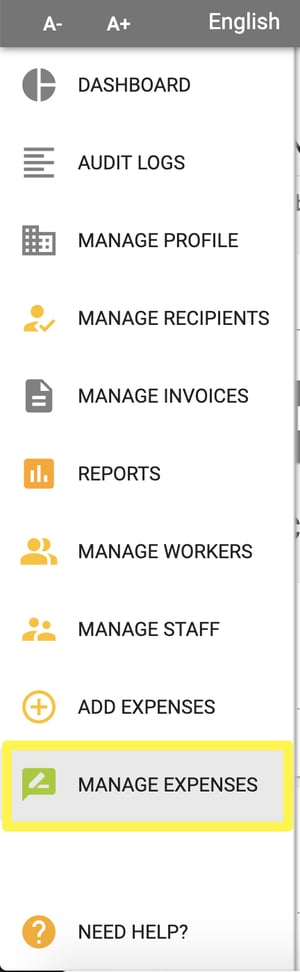
Navigate to the “Manage Expenses” menu option.
Follow these steps to Accept/Reject and Submit a new expense:
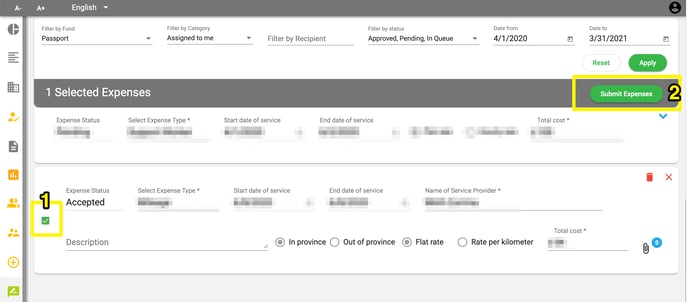
- Find the Recipient whose Expense(s) you would like to review and submit. All pending Expenses that have been added and are ready to be reviewed will be listed according to Recipient. You can also utilize the Filtering feature at the top of the screen to narrow down the exact Recipient if necessary.
- Navigate to the Expense you would like to review, and click the arrow icon on the right of that Expense to view the full details.
- You can click “Approve” or “Reject” when ready. After clicking Approve or Reject, you will see a confirmation notification at the top of the screen. Rejected expenses will be removed.


- Once an Expense has been “Accepted”, a checkbox will appear to the left of that expense. Select the checkbox of all those Accepted Expenses that you would like to Submit. Then click “Submit Expenses” when ready, and this will automatically send these expenses as invoice(s) for processing by PassportONE.
Please note: You will not be able to "Submit" any expenses that have been "Rejected".