The MyDirectPlan application offers a user-friendly interface that allows you to filter your expense entries easily. Here is a guide to help you manage or filter your expenses:
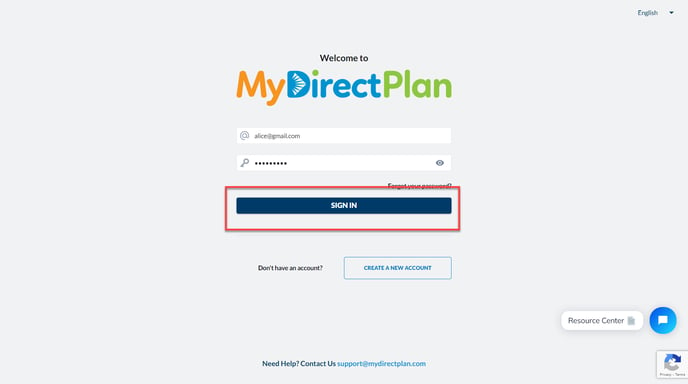
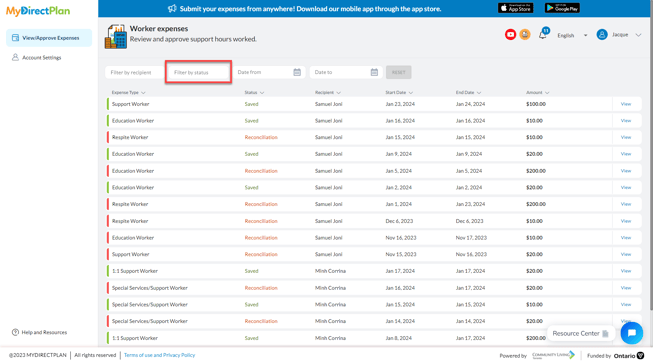
Filtering by Recipient:- Login to your Worker account.
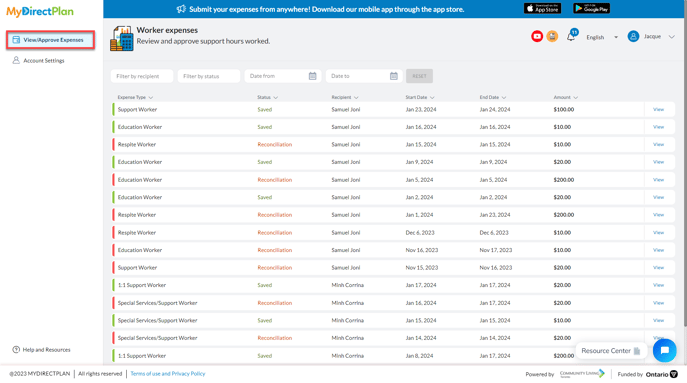
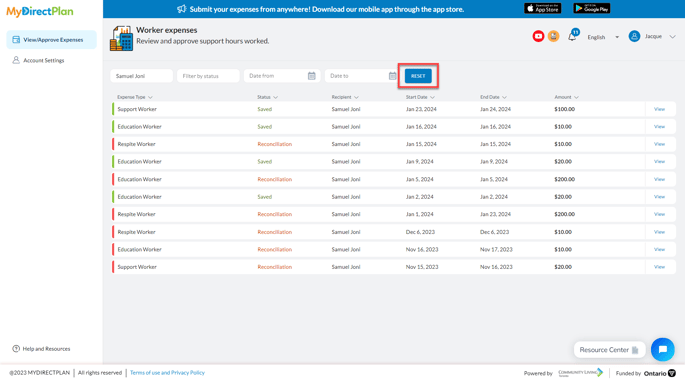
- Click on the "View/Approve Expenses" section from the left-hand side menu.
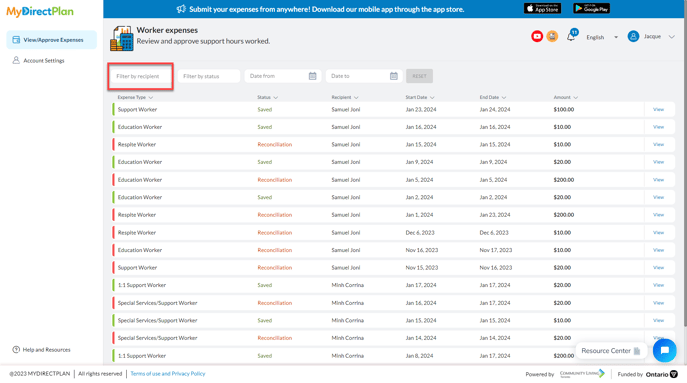
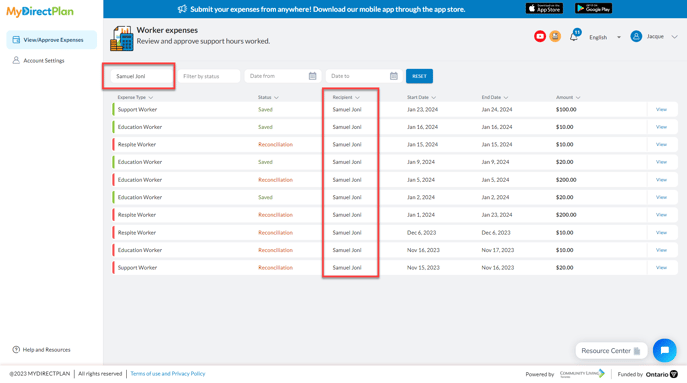
- In the Expenses section, locate the "Filter by Recipient" option, placed horizontally along with other filters.
- To filter the Expenses by Recipient, select the desired Recipient from the dropdown.
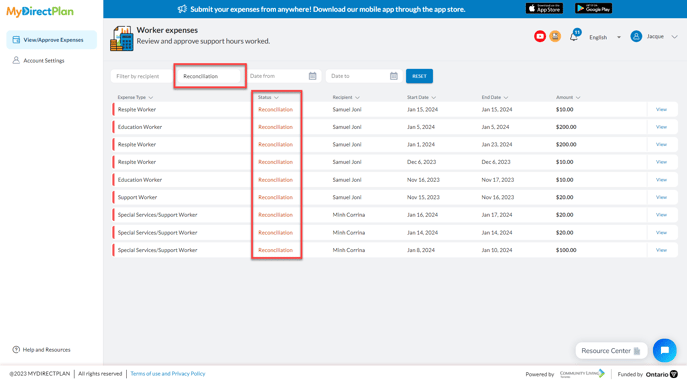
- Login to your Worker account.
- Click on the "View/Approve Expenses" section from the left-hand side menu.

- In the Expenses section, locate the "Filter by Status" option, placed horizontally along with other filters.
- Choose the desired status from the available options and your expenses will be filtered based on the selected statuses.
- Login to your Worker account.
- Click on the "View/Approve Expenses" section from the left-hand side menu.
- In the Expenses section, locate the “Date Range" filter, placed horizontally along with other filters.
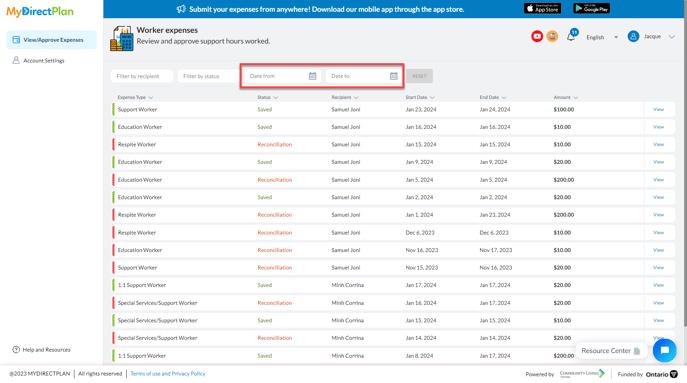
- Choose the desired date range to filter your expenses accordingly.
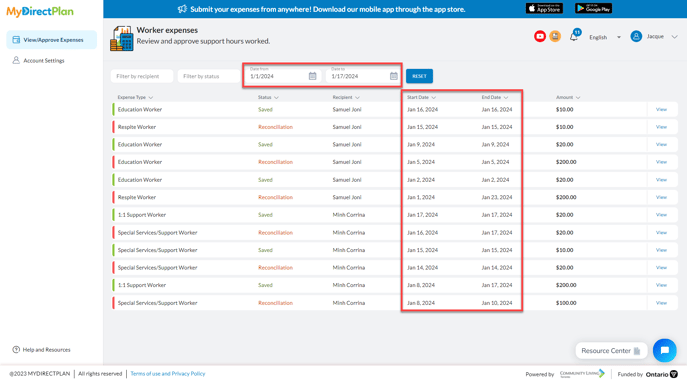
To reset the selected filters, you can simply click on the Reset button, as shown in the image below:
By following these simple steps, you can effortlessly filter and navigate your expenses on the MyDirectPlan application.
Still need help?
Please email us at support@mydirectplan.com so that our support team can assist you.